Showing posts with label greenscreen. Show all posts

Tuesday, 5 September 2017

WEBSITE & DIGIPAK: Images

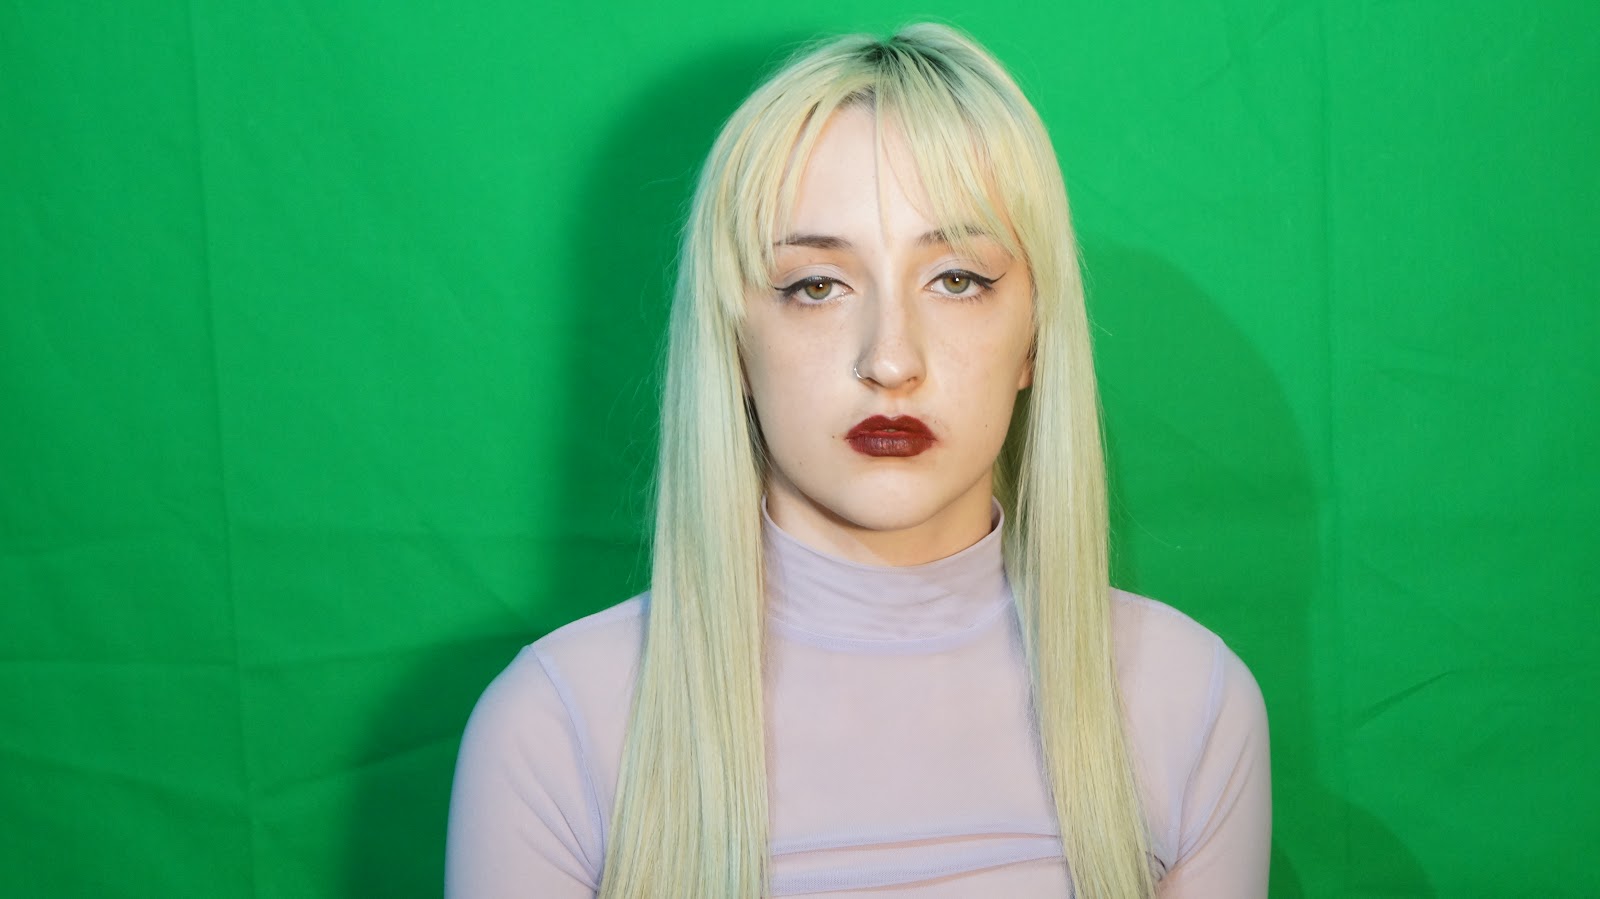
Here are a few pictures I took during summer at my house in England. I took advantage of the sunny weather and took many pictures outside in direct sunlight. On top of this, I also took many images inside, in front of a greenscreen. I plan to use these images for my artist's website and for the digipak. I haven't quite decided which image to use for the main cover of the digipak, at the moment I am thinking to use either the 1st or 2nd image below:


I realised that these images were actually really hard to manipulate in Photoshop and crop the background out, especially since my hair is slightly green blonde in those images, the colour is too similar to the greenscreen background. Therefore, I took some more images with a different costume too - light blue long straight wig, black and white checkered mesh crop top, calvin klein bralette, pink lipstick. Here are the images I took (below):
...


Tara Carosielli - Holloway Road album cover

I decided to pick this last image here below on the left. I liked the unusualness of it and the white closing in walls which created quite an isolated, box effect. I was inspired to do this body pose from this album cover example Tara Carosielli - Holloway Road


After I placed this image that I chose, onto my website and my digipak, I realised that the image wasn't going to be practical since the background of the image is plain white and grey and not all one colour. Also, there was a triangular section where the arm is placed up and this is difficult to remove the background from. So, I therefore decided to take even more new images of myself with a clearer contrasted background which is green (from green screen) with yet again a different costume (pink hair, light blue scrappy crop top) and a different, simpler body posture which wouldn't cause issues when cropping in Photoshop. You can see the images I took below:
...

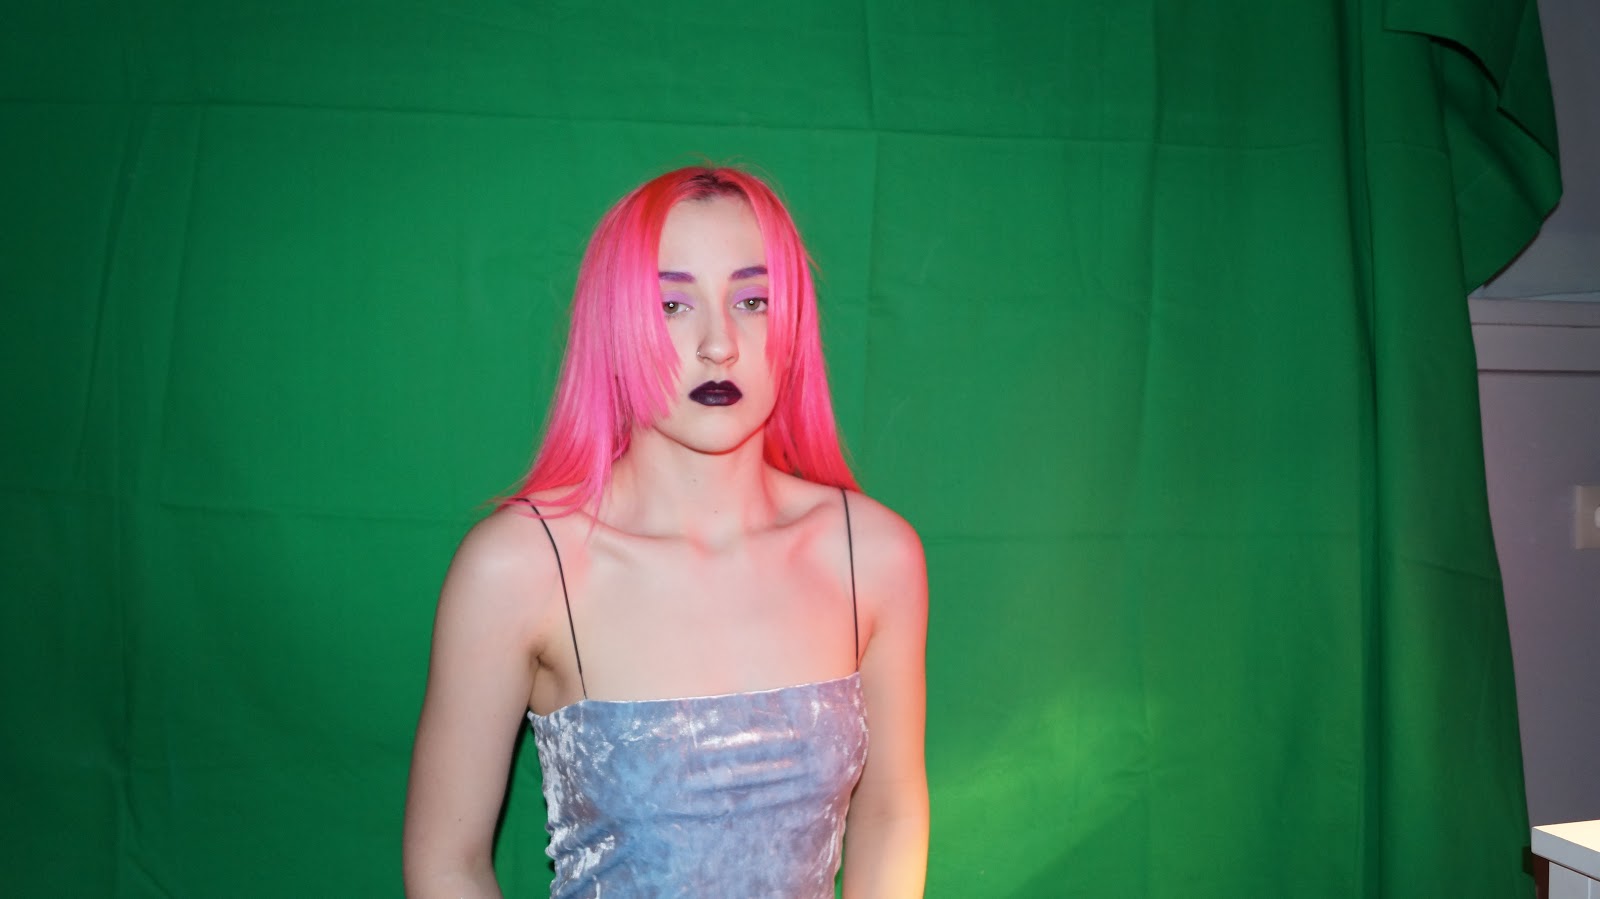


In the end I decided on using this image because there is direct audience address and I just like the way I look in this one the most.  


Sunday, 3 September 2017

GREENSCREEN: Setting Up Your Own

While I was in England in the summer holidays I asked my dad to help me try and set up a greenscreen studio in one of the rooms in our house. I found a suitable room upstairs (rectangular shaped bedroom) which has entirely white walls and two simple windows. I decided on the wall to place the greenscreen sheet on. 

Here are some photos of the greenscreen 'studio' my dad and I set up at my house in England:

...
Firstly, to stick the greenscreen up on the wall, I had the idea of using bluetac. This idea did not work whatsoever. Then, I tried to use pins, this was even worse of an idea. Then, my dad came to help me and he had the idea of using masking tape. He stook some yellow/beige tape on the wall first so that he wouldn't be sticking the masking tape onto pure painted wall, otherwise the wall paint would come off with the tape. After he stook that on, he attached the grey masking tape half onto the greenscreen and half onto the wall, as you can see on the left. On top of this, he decided to lean some heavy things (wood and metal) onto the greenscreen so it wouldn't fall down.
...
My dad also went to Screwfix to get an LED light/two LED lights on one stand for the 'greenscreen studio' which you can see here. After the greenscreen was set up on the wall, we brought in the LED lights and set the camera in position (I used a gorillapod here to keep the camera in the right place - I wrapped the gorillapod around the metal headboard). 


...
After this, I did some research into how to set up your own greenscreen studio at home. I watched a video about it and discovered that if there is a window in the room, you have to cover it with big black curtains. I figured we didn't have any black curtains so instead I found big sheets to throw over the lilac curtains and many dark things to cover up any light coming in. 


...
To improve this, my dad came up with the idea of using black plastic sheeting to cover the windows. He would cut the plastic sheeting to fit the window shape exactly. So we did that and it turned out exactly how I wanted. No light could get through. 


...

Once we had done all that, we discovered that the greenscreen still wasn't bright enough. So, my dad went back to Screwfix and bought a single Halogen light with a handle. These lights are extremely bright. Once we added this to the set up, the greenscreen was a lot more lit up than with just the LED lights, as you can see on the left. I had no idea that LED lights weren't actually that bright. 


...


...


...

LIGHTING: 3 Point Lighting In A Studio

3 Point Lighting In A Studio:
I wanted to learn more about lighting in a studio, how to do it properly. So, I watched two videos to understand how to get the perfect lighting on a subject in a photoshoot or on set for filming.

The ground rules for this are:
1. Key Light 
2. Fill Light 
3. Hair Light 
and you can also light up the background/backdrop behind your subject with one or two lights. 

Before you set up the lights, you need to decide where to place your camera in terms of the subject. So for example, most likely you may decide to place your camera directly in front of the subject. 


Depending on what kind of look/image you want you can either use one of the three main lights (key light, fill light, hair light), two, or all three. 

This is what it looks like to have all three lights used on a subject (without lights on the backdrop):


This is what it looks like to have all three lights used on a subject and lights on the backdrop this time: